How to set up a Laravel app on Azure Web Apps
- Laravel
- Azure
- deployment
- hosting
PHP is easily one the most popular programming languages in the world, and Laravel is the most popular PHP framework, so there's no lack of hosting options to choose from. From a shared hosting, custom VPS servers, to serverless solutions like Laravel Vapor. One of the less known options however is Azure Web Apps, a PaaS solution in the Microsoft Azure cloud, that can handle PHP apps (including Laravel) pretty easily, while also providing some great features for scalability.
Getting started
My first assumption is that you already have an Azure account, and that you're somewhat familiar with the Azure portal. If you don't have an Azure account, you can sign up for a free trial. There's also a great startup program called Microsoft for Startups that provides free credits and additional benefits for startups that meet eligibility criteria.
Also, I'm assuming you have a Laravel app that you want to host on Azure Web Apps. If you don't, you can use the Laravel installer to create a new one. We'll use GitHub as a source code repository provider.
composer create-project laravel/laravel my-app
git init
git remote add origin git@github.com:[github-username]/[repo-name].git
git add .
git commit -m "Initial commit"
git push origin main -u
One of the feature I love in Azure, that's missing in AWS is the concept of resource groups. They are a way of organizing any cloud resources (VMs, databases, etc.) into logical groups, which you can then easily delete. (Who hasn't had to find the remaining orphan resources on AWS that were incurring costs!)
You can create a new resource group by going to https://portal.azure.com/#create/Microsoft.ResourceGroup and specifying a name and a region. The name doesn't matter, but I personally like to suffix with an -rg or RG suffix, to be able to easily distinguish them from other resource types.
Create an App Service Plan with a Linux PHP web app
Once you have your Laravel app up and running locally, and have access to Azure Portal with a resource group created, you need to create an actual app. Each app needs to be assigned to an App Service Plan, which you can think of as one or more VMs that your apps can run on.
What not everyone knows is that one App Service Plan can host multiple apps! Usually it makes sense to choose a bigger size VM for the App Service Plan and host several apps on it, rather than having many smaller App Service Plans.
Assuming you don't have any App Service Plans you'd like to use, you can go straight to the App Services page in Azure Portal, as you'll be prompted to create a new App Service Plan while creating a Web App service. Go to App Services and click "Create" button, or alternatively from the homepage you can click on "Create a resource" and then choose a "Web App" > "Create".

In the instance details section, you can choose the underlying platform that will power your app. You can select how you want to publish the code (from source code, docker container, or as a static web app) and select the runtime/operating system combination. In our case, we'll select "Code", PHP 8.2, and Linux.

If you have an App Service plan already, make sure to select the corresponding region in which it's located. Otherwise, choose whatever makes sense for you, and then the right size of the plan. I usually default to "Premium V3 P1V3 (195 minimum ACU/vCPU, 8 GB memory, 2 vCPU)", which will allow you to host several medium-sized apps on it. You can always scale up or down later. Make sure you check the pricing, and ensure it makes sense for your use case.
Then, on the Deployment page, enable the continuous deployment option, and select (or add) your GitHub account connection and select the repository and production branch for your Laravel site. You can also preview a GitHub Actions workflow file that will be created for you automatically.
You can leave the default options on other tabs unchanged, make sure the "Enable public access" is set. Unfortunately Application Insights is not currently supported for the PHP stack. Click on "Review + create" and then "Create" button. Azure will take a couple minutes to deploy your app service and notify you with a toast when that's ready.
First deployment
If you head over to your application's GitHub repository and open Actions tab, you should see a new job being run. This was triggered by the creation of the workflow file by Azure.
If you inspect the workflow YAML, you'll see it's split into two jobs: "build" and "deploy". Remember that your stack is PHP-specific, not Laravel specific, so all the build job does is install composer dependencies and upload all files as an artifact to be used in the deployment job. Since it doesn't archive the files, it will have to upload each of the composer dependencies separately, so don't be surprised if it takes 20-30 minutes!
There's two ways to fix it. You could add a step before the artifact upload, that zips everything into an archive, and then update the upload settings to only store the ZIP file (e.g. by using the action-zip) or, what I usually prefer, checkout the fresh repository in the deployment job, and install composer dependencies there. I like to use the build job to perform linting and testing (e.g. executing the phpunit tests) and if that passes, it will trigger the deployment job, which will then deploy the code to Azure.
Also, my .env.example file has sensible settings for the production app (just don't add any secrets to it!), so it's worth making sure it gets copied to Azure server as well. You can add the following step to the deployment job:
- name: Copy .env
  run: php -r "file_exists('.env') || copy('.env.example', '.env');"
Configure Nginx
Here comes the tricky part. By default, Azure assumes the web root directory is the root folder of your application and there's no way to configure it in the Azure Portal. Laravel requires the web root to be set to public/.
Previously (and currently if you select PHP 7 stack) the web content was served using Apache web server and you were able to put a simple rewrite rule in an .htaccess file. Since PHP 8, Azure uses Nginx, which makes things a bit more complicated, as you'll need to create a custom site configuration file and copy it to Nginx's configuration directory. Create a default.conf file in the root of our project, and add the following content:
server {
    #proxy_cache cache;
    #proxy_cache_valid 200 1s;
    listen 8080;
    listen [::]:8080;
    root /home/site/wwwroot/public;
    index  index.php index.html index.htm;
    server_name  example.com www.example.com;
    port_in_redirect off;

    location / {
        index  index.php index.html index.htm hostingstart.html;
        try_files $uri $uri/ /index.php?$args;
    }

    # redirect server error pages to the static page /50x.html
    #
    error_page   500 502 503 504  /50x.html;
    location = /50x.html {
        root   /html/;
    }

    # Disable .git directory
    location ~ /\.git {
        deny all;
        access_log off;
        log_not_found off;
    }

    # Add locations of phpmyadmin here.
    location ~ [^/]\.php(/|$) {
        fastcgi_split_path_info ^(.+?\.php)(|/.*)$;
        fastcgi_pass 127.0.0.1:9000;
        include fastcgi_params;
        fastcgi_param HTTP_PROXY "";
        fastcgi_param SCRIPT_FILENAME $document_root$fastcgi_script_name;
        fastcgi_param PATH_INFO $fastcgi_path_info;
        fastcgi_param QUERY_STRING $query_string;
        fastcgi_intercept_errors on;
        fastcgi_connect_timeout         300;
        fastcgi_send_timeout           3600;
        fastcgi_read_timeout           3600;
        fastcgi_buffer_size 128k;
        fastcgi_buffers 4 256k;
        fastcgi_busy_buffers_size 256k;
        fastcgi_temp_file_write_size 256k;
    }
}
This is based on the default config in Azure web app server, with two small changes:
root /home/site/wwwroot/public;Here you set the web root to public/ folder.
location / {
    index  index.php index.html index.htm hostingstart.html;
    try_files $uri $uri/ /index.php?$args;
}
This is the most important part. You'll need to make sure that all requests are passed to the index.php file. This is the default behavior of Laravel, but Nginx doesn't know that. You can use the try_files directive to tell Nginx to try to find a file with the requested name, and if it doesn't exist, pass the request to index.php. This is the same as the rewrite rule in .htaccess file.
Next, let's create a startup.sh script with the following content:
#!/bin/bash

echo "Copying custom default.conf over to /etc/nginx/sites-available/default.conf"

NGINX_CONF=/home/site/wwwroot/default.conf

if [ -f "$NGINX_CONF" ]; then
    cp /home/site/wwwroot/default.conf /etc/nginx/sites-available/default
    service nginx reload
else
    echo "File does not exist, skipping cp."
fi
This script will be executed by Azure when the app service starts. It will copy the custom configuration file to Nginx's configuration directory and reload the server.
Configuring database, cache, and external services
One of the biggest benefits of using a cloud like Azure is being able to make use of managed services, like databases and caches. There's a lot of native options to choose from on Azure, and there's also a third-party vendor marketplace, where you can find other services (like InfluxDB which we use at StackScout) that just get added to your Azure bill.
The minimum I usually use is a PostgreSQL database and a Redis cache but you can configure others in a similar way.
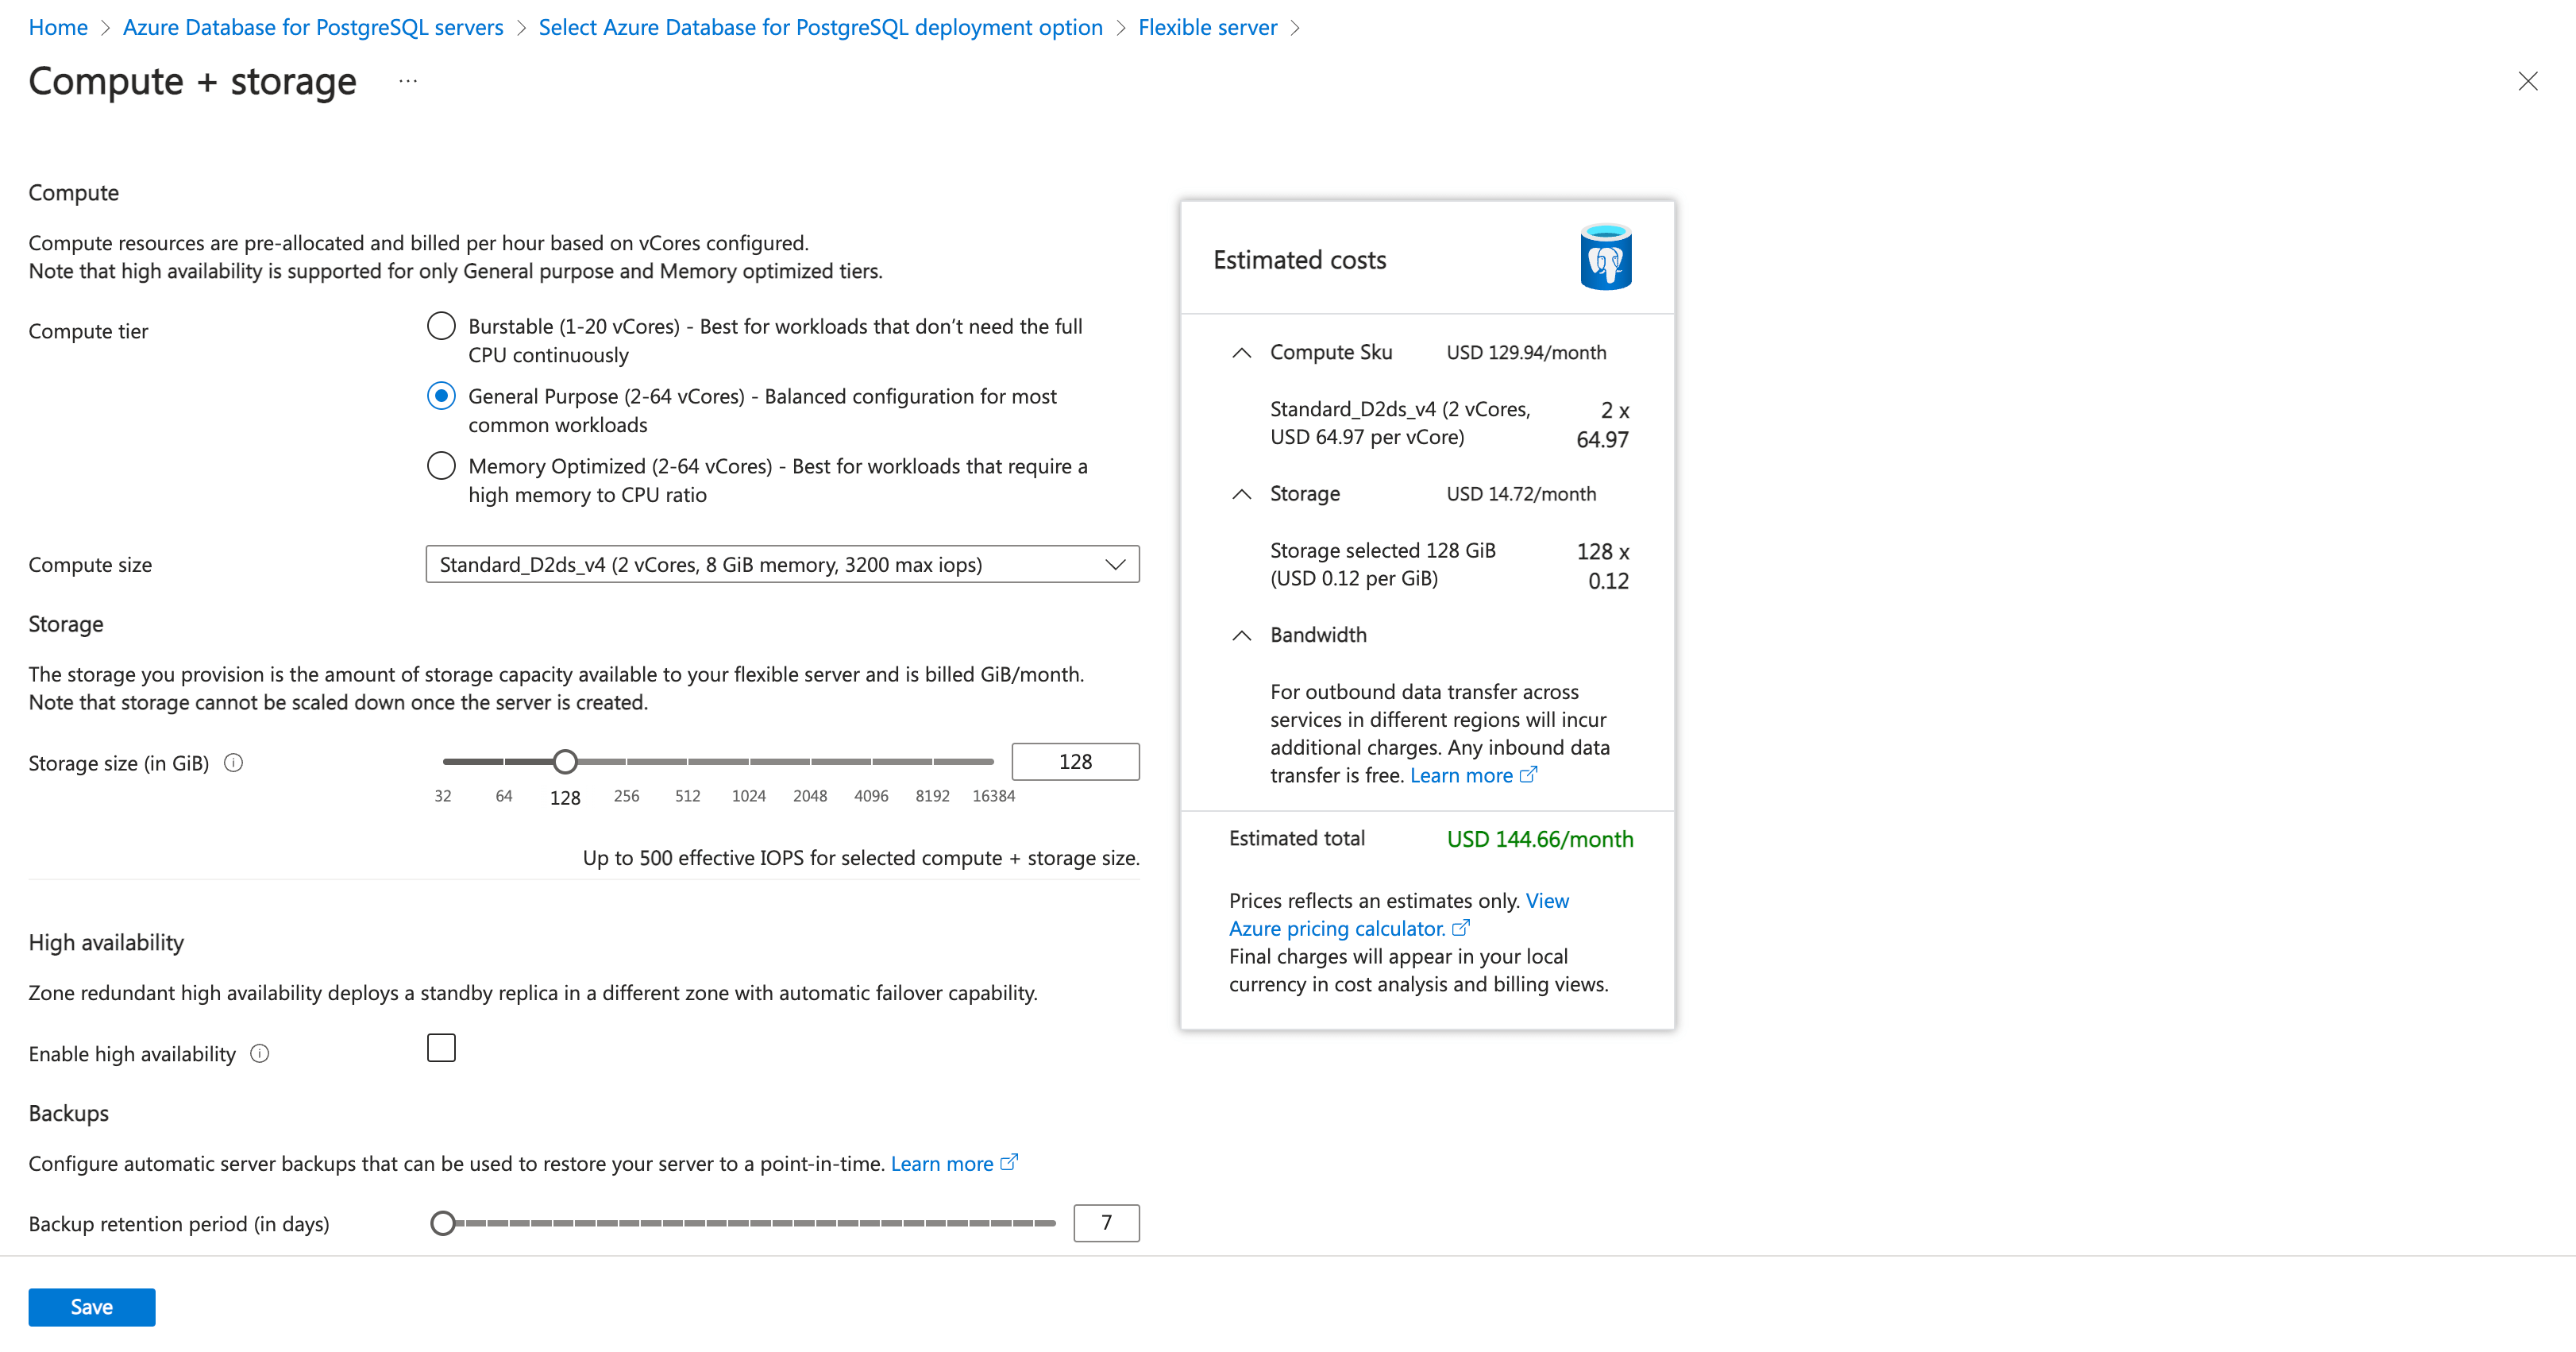
To create a new PostgreSQL database search for "Azure Database for PostgreSQL flexible servers" in the Azure Portal and click the "Create" button. Select the desired size, and on the Networking tab, make sure to check "Allow public access from any Azure service within Azure to this server".
This will allow your app to connect to the database from Azure. Unlike Citus databases (called "Azure Cosmos DB for PostgreSQL Cluster" in Azure), you can create multiple databases on a single db instance, so similarly to App Service plans, you can choose a bigger server size upfront.
The native Redis service is called "Azure Cache for Redis". You can configure it in a similar way, select your resource group, name (which will become a DNS endpoint you'll configure in Laravel) and the instance size.
Next, go to all the resources you've just created, and take note of the endpoints and credentials. E.g. for PostgreSQL, the hostname is displayed as "Server name", you should've created the admin username and password while configuring your database. You may want to create an app-specific user, with a different set of permissions!
For Redis, the hostname is displayed as "Primary connection string" and the password is displayed as "Access key".
Finally, head over to App Services, and into your Laravel service. Then, in the left-hand menu, click "Configuration" and add required application settings. You can omit ones you've set in the .env.example file (which gets renamed to .env in the workflow we've created earlier). You'll probably need APP_KEY (you can generate one locally and use it), DB_HOST DB_DATABASE, DB_USERNAME, DB_PASSWORD, REDIS_HOST, and REDIS_PASSWORD. Once done, remember to click on the "Save" button to persist the changes. Azure will restart your app service, and the new configuration will be loaded. When done, go to the overview screen and click on the "Default domain" link. You should see your Laravel app running!
If you're getting a 404 error, but not your Laravel error page, it's because Nginx in Azure shows a 404 for any application exceptions. To debug, assuming you haven't configured custom logging, go to Advanced Tools, click "Go", then "SSH" in the top nav menu and run
cat /home/site/wwwroot/storage/logs/laravel.logIt is worth noting that you have full SSH access to the server powering your web app.
Additional options
There's a few more thing that you can or should do next.
Add a domain - go to Custom domains in the Azure Portal, select your domain provider (either Azure, or anything else), App Service Managed Certificate, SNI SSL, and type in your domain name.Azure will tell you what DNS records you'll need to create. (either A or CNAME, and a TXT as a domain verification ID
Create deployment slots - we've only configured a single (production) environment so far. If you need dev, staging, qa, or anything else, you can create them as deployment slots. Each deployment slot can have its own configuration overrides, and you can send a specific percentage of traffic to different slots.
Set up a health check - you can configure Azure to periodically send a request to a specific path on your site to assert that it's up an running.
Is it worth it?
Azure is definitely not the cheapest way to host a Laravel app, but if you're looking for a scalable PaaS solution, so that you don't have to manage servers yourself, and don't want to deal with a complexity of running Laravel on AWS Lambda, then it's a great option. It's also great if you have other workloads you need to run on Azure.
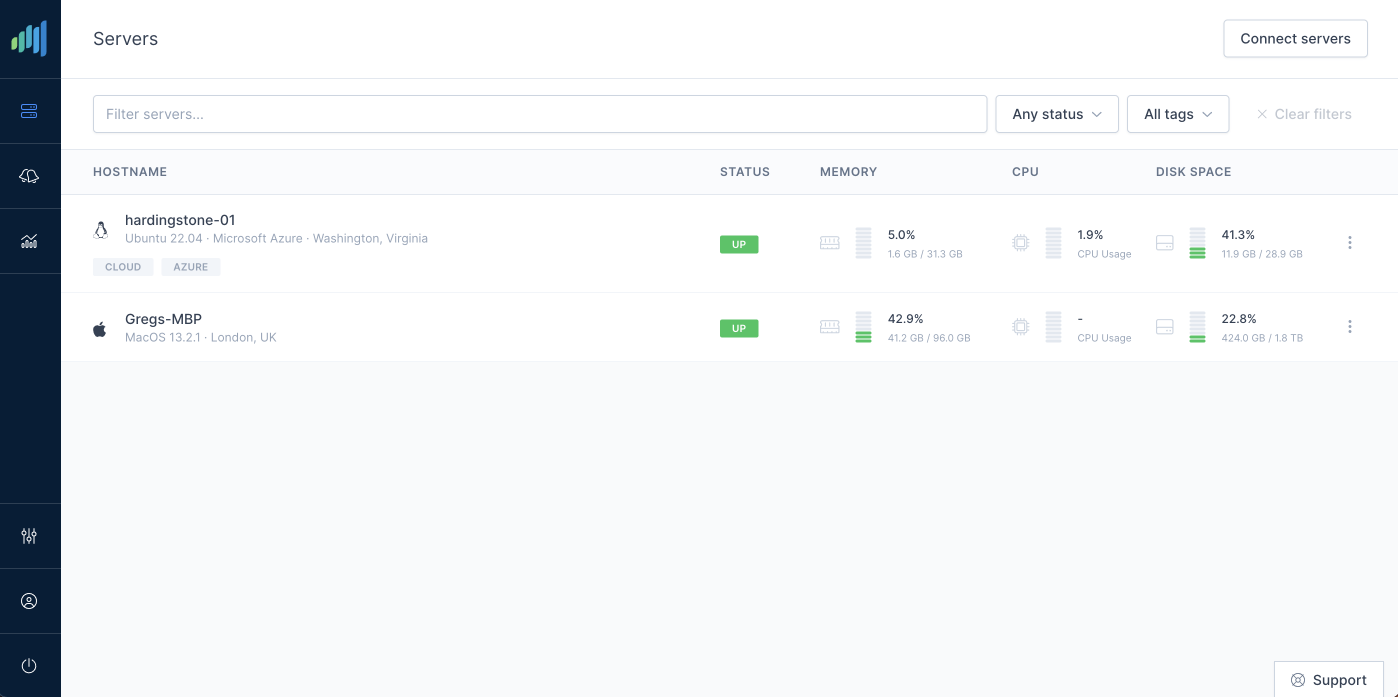
As always, consider your circumstances; sometimes a simple, cheap VPS can do the job well enough (and if you do, I've built a server monitoring project, give it a try!).
PS. If you liked this article, please share to spread the word.